


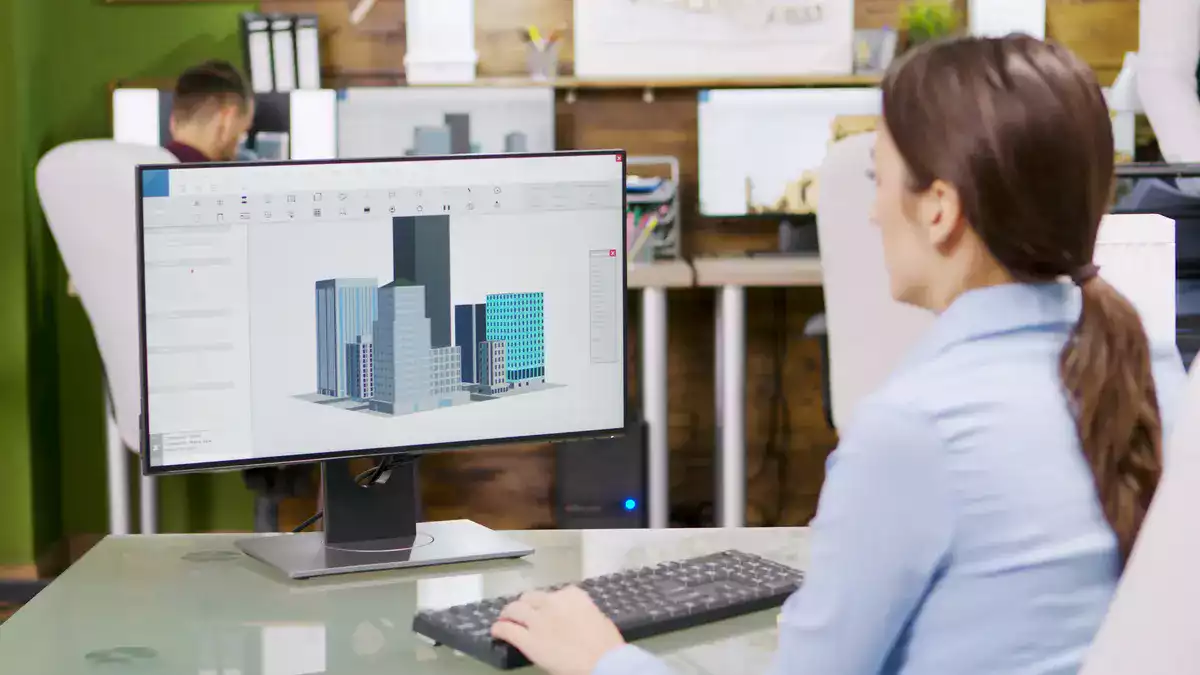
Enscape is a powerful and user-friendly real-time rendering and virtual reality (VR) plugin used primarily in the architecture, engineering, and construction (AEC) industries. It allows architects, designers, and visualization professionals to transform their 3D models into immersive and photorealistic visualizations with ease.
Enscape Real Time 3d Rendering Software
Enscape plugs directly into your modeling software, giving you an integrated visualization and design workflow. It is the easiest and fastest way to turn your models into immersive 3D experiences by eliminating the inconveniences of production, shortening the feedback loop, and giving you more time to design.


Works With
Enscape Features
Version 3.3 - Design Beyond Boundaries
Enscape 3.3 empowers you to design beyond boundaries. Add context to design scenes with the brand-new Site Context feature, work more effectively with the Alpha Channel Export, and enhance projects with Education-themed assets and materials. Plus, so much more!
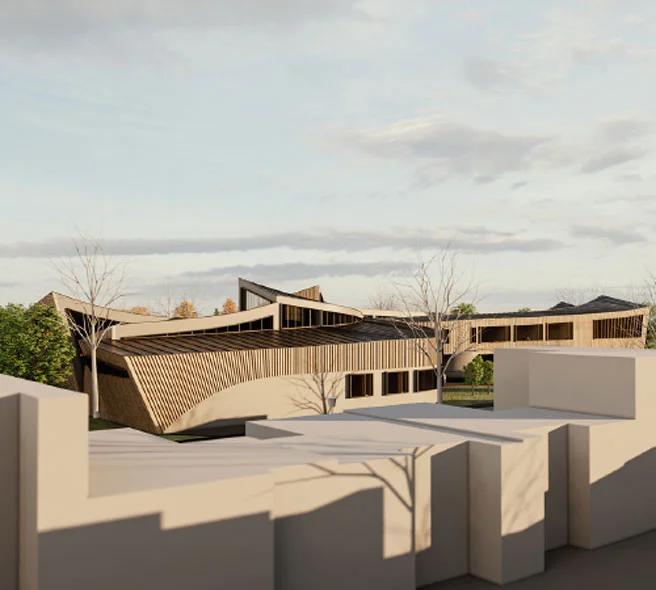
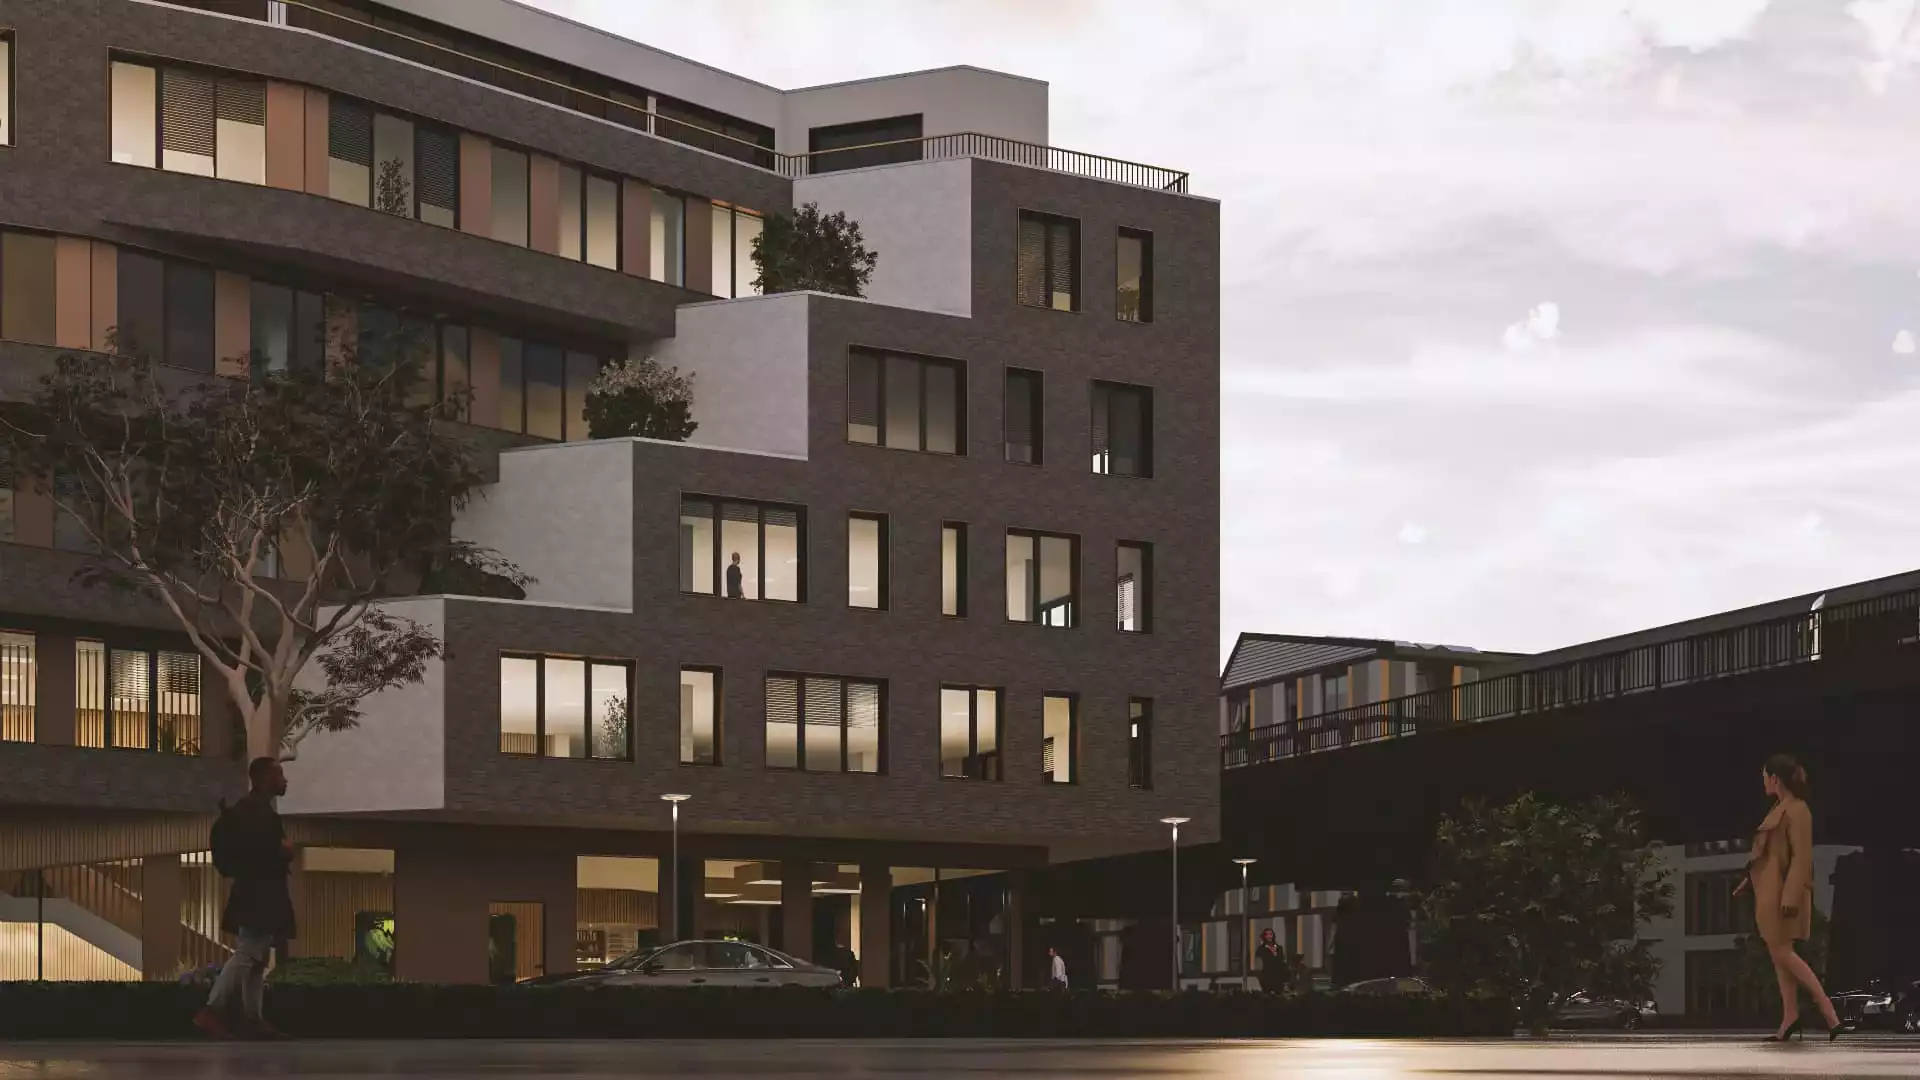
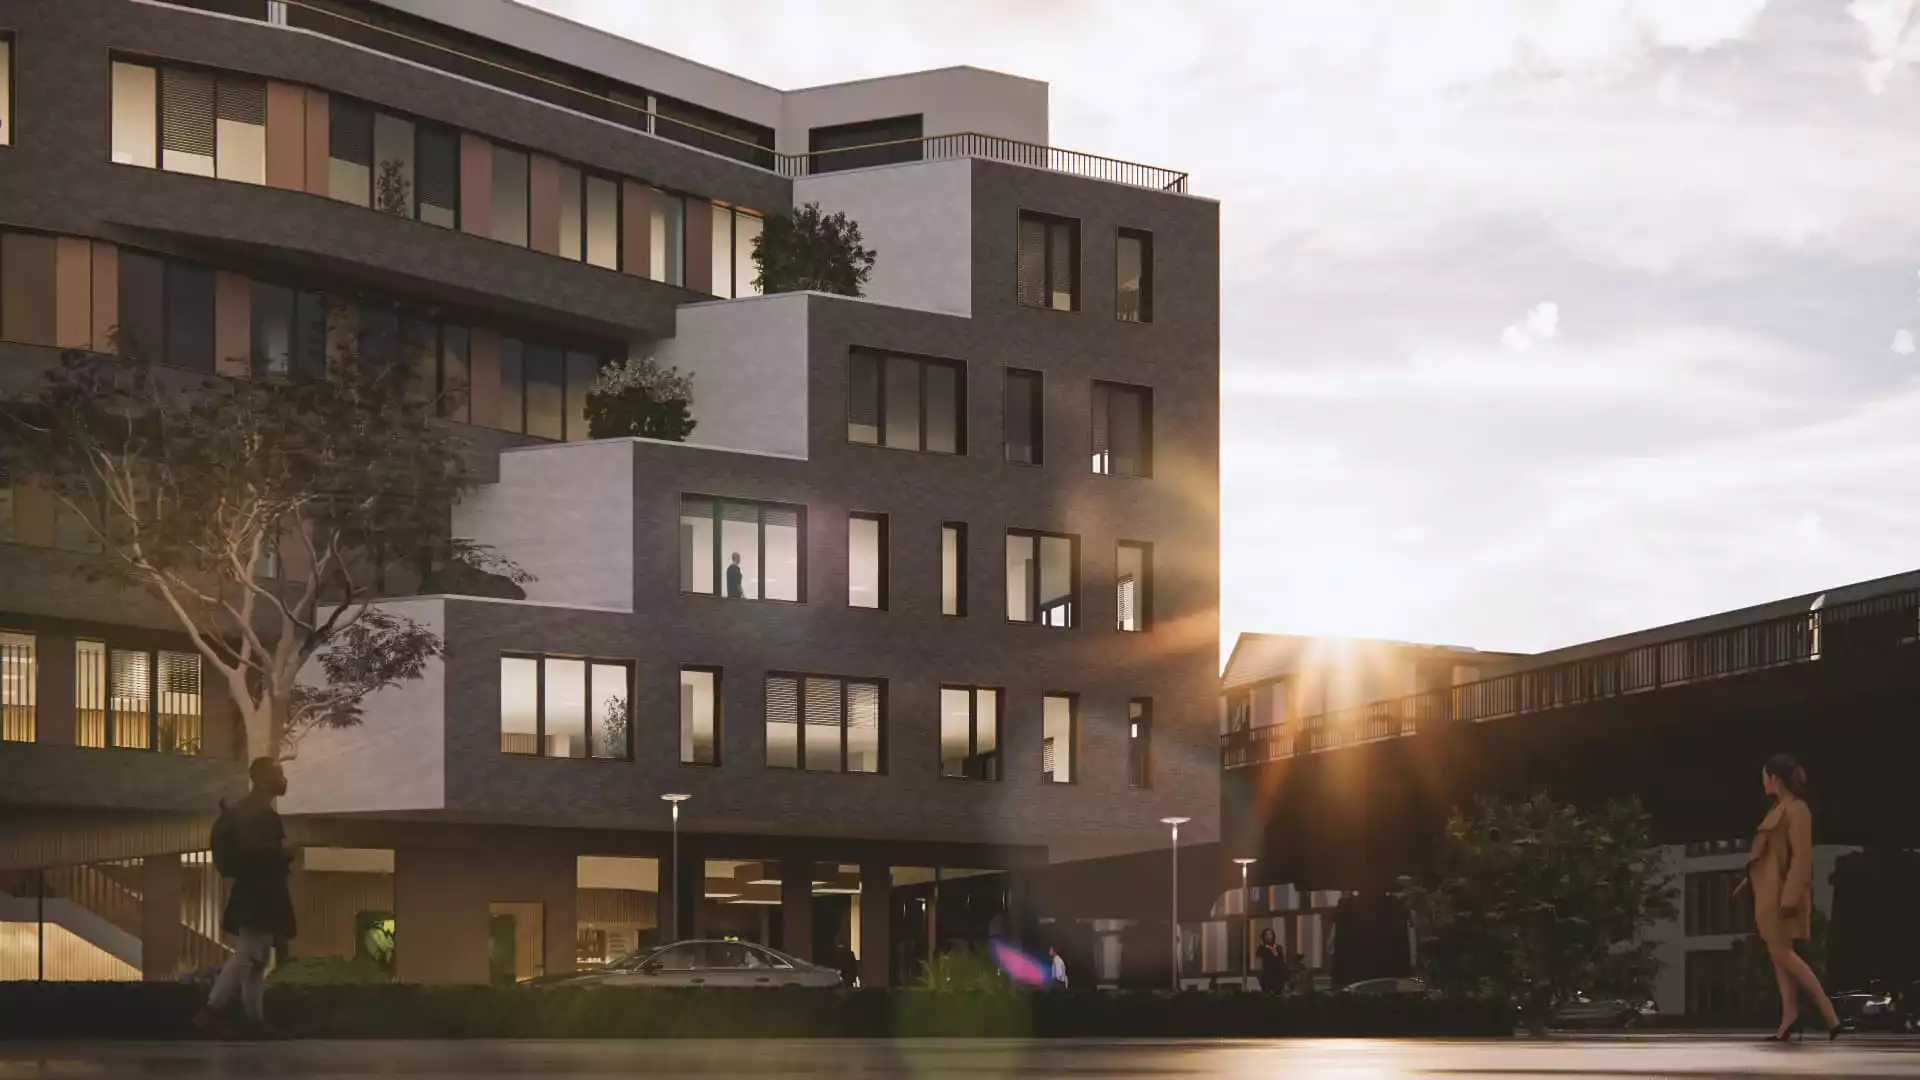
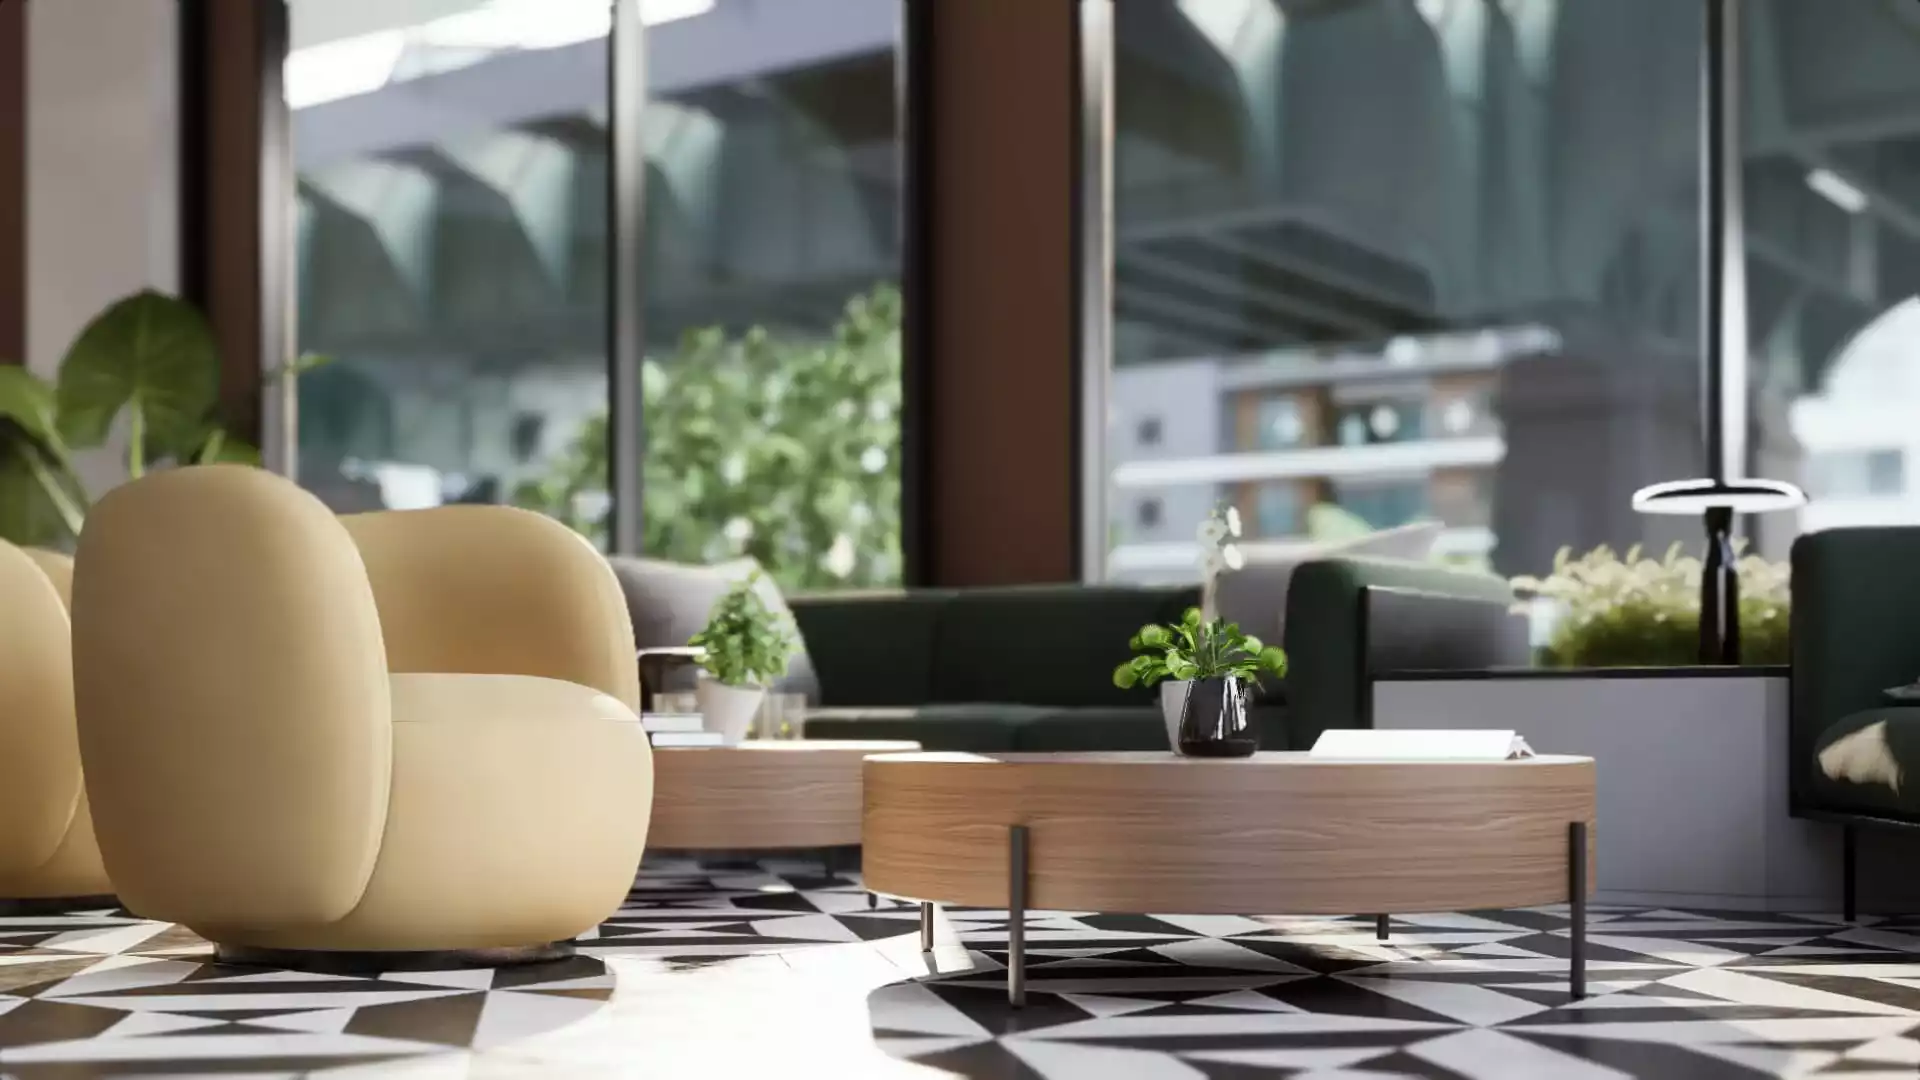
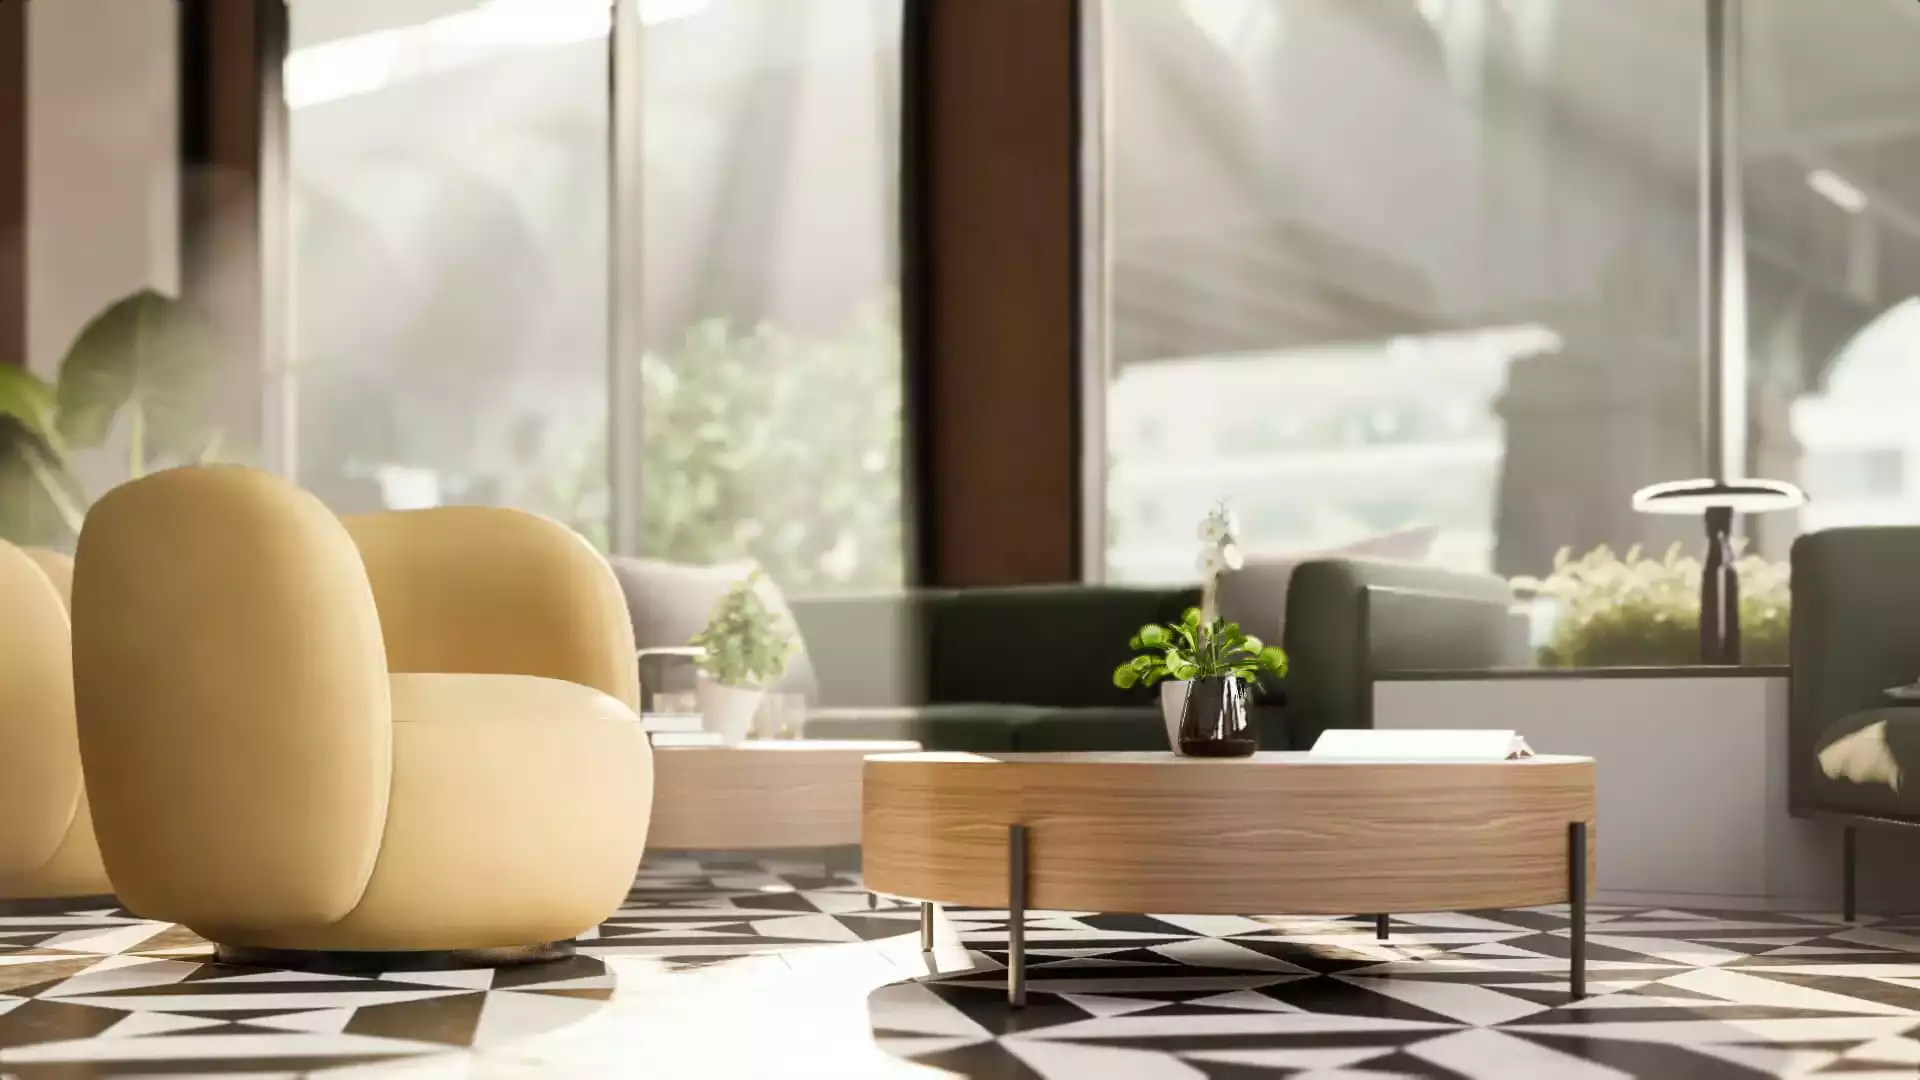
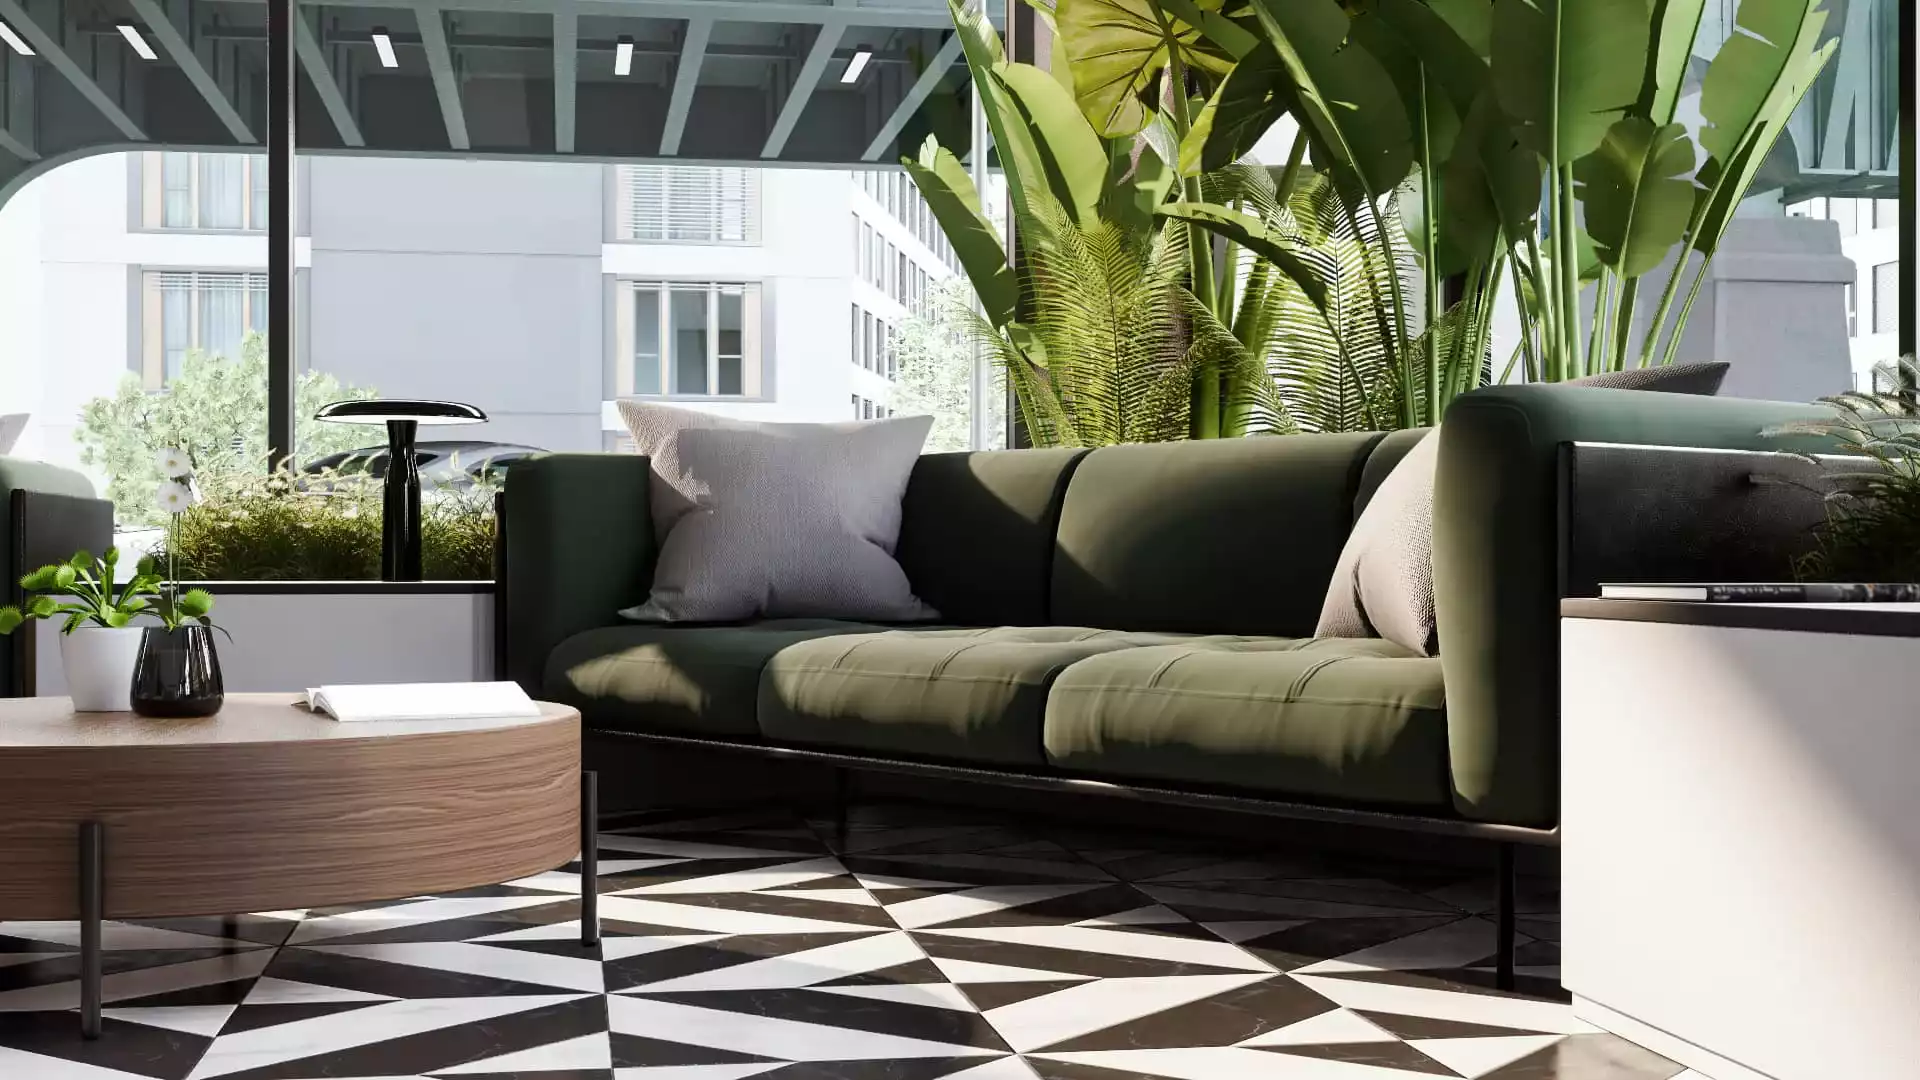
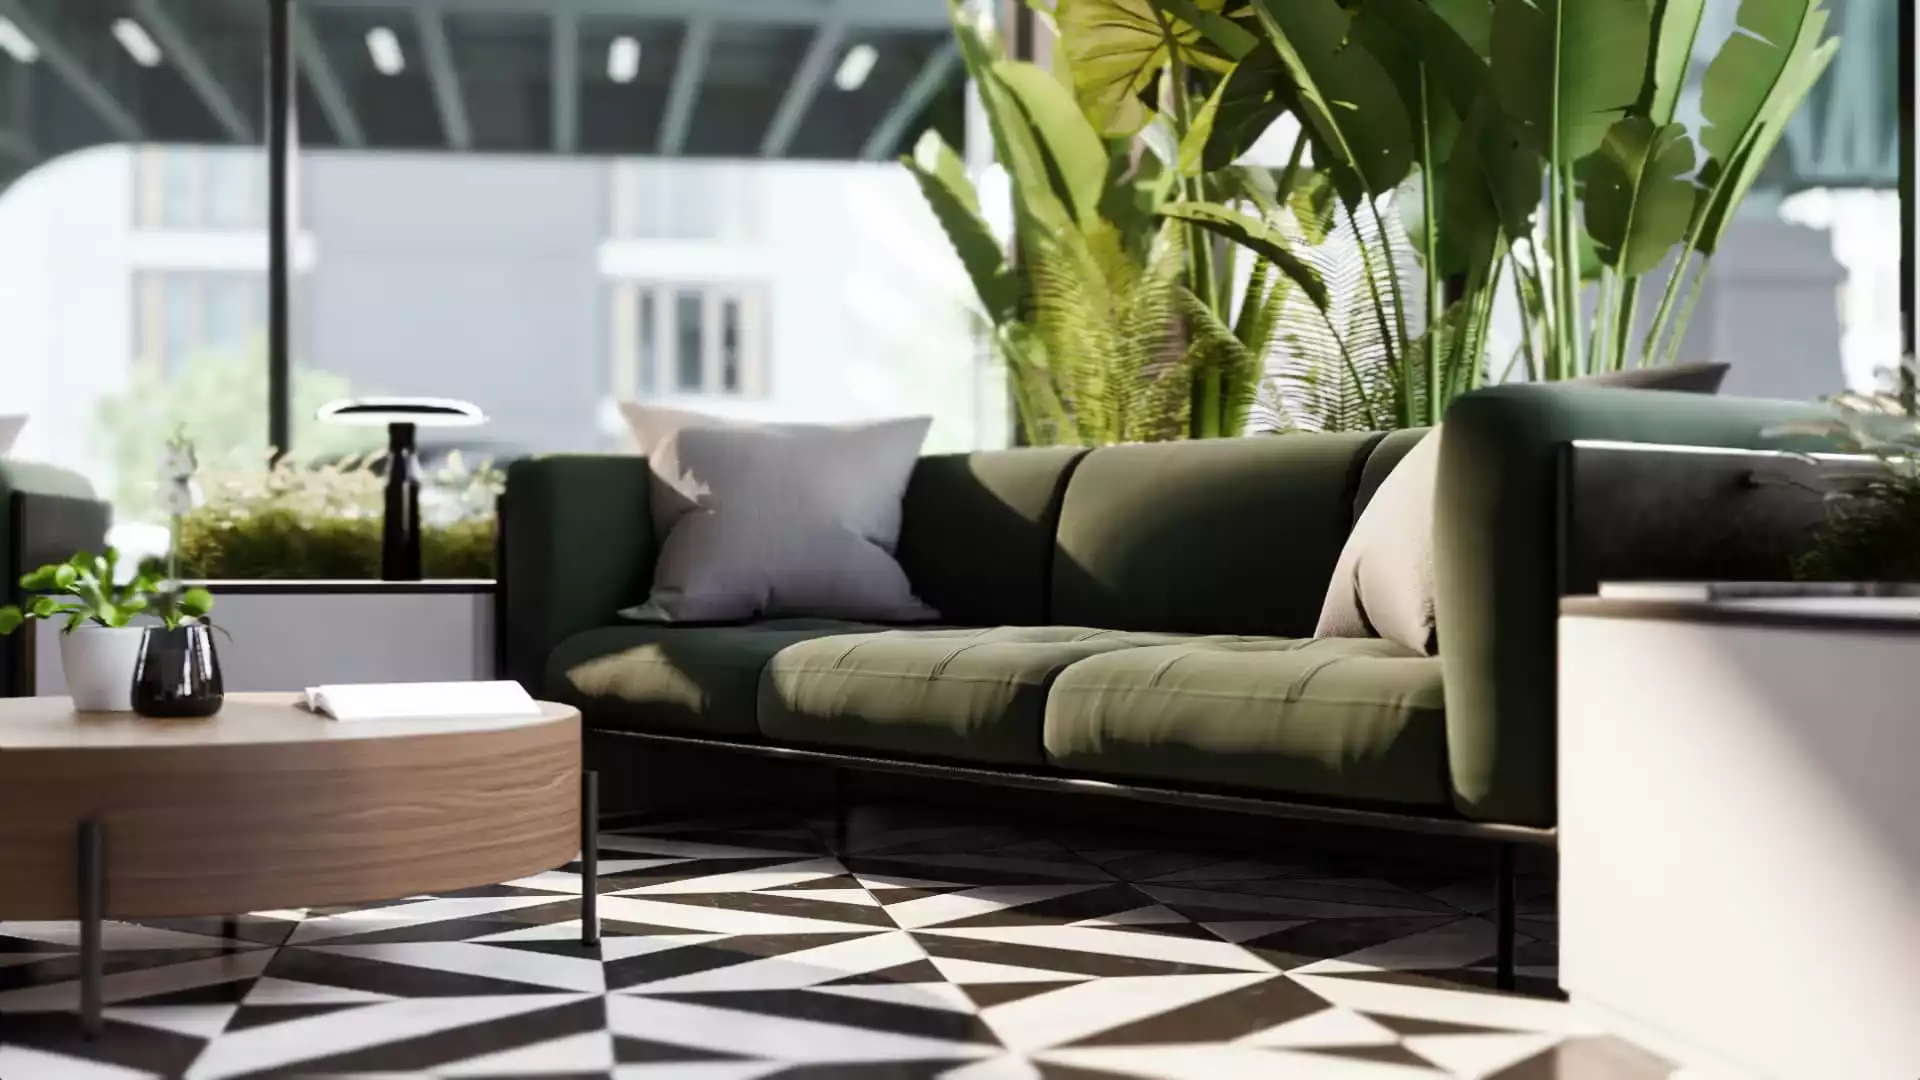
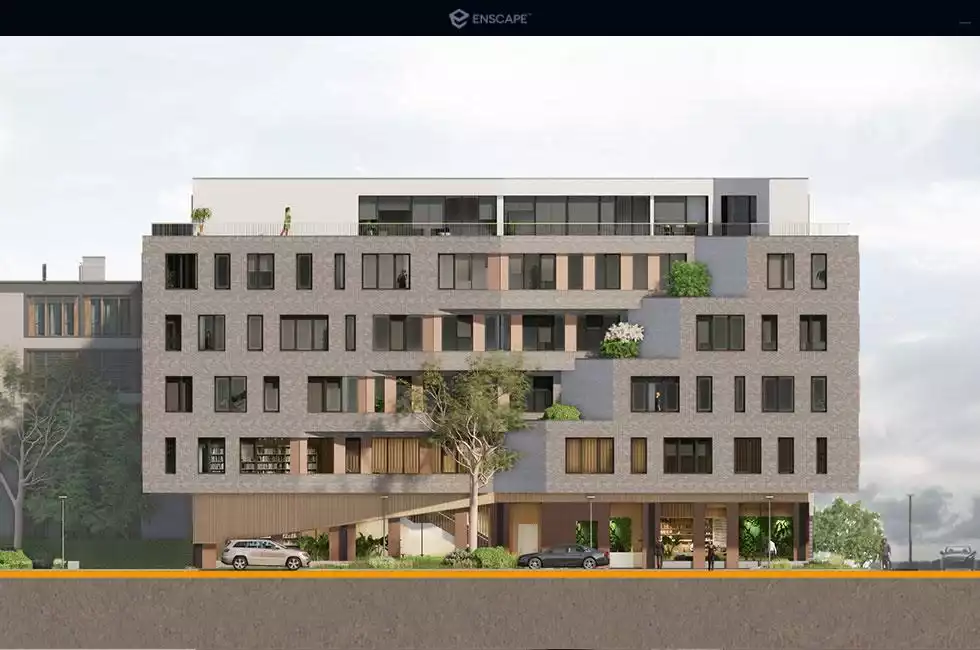
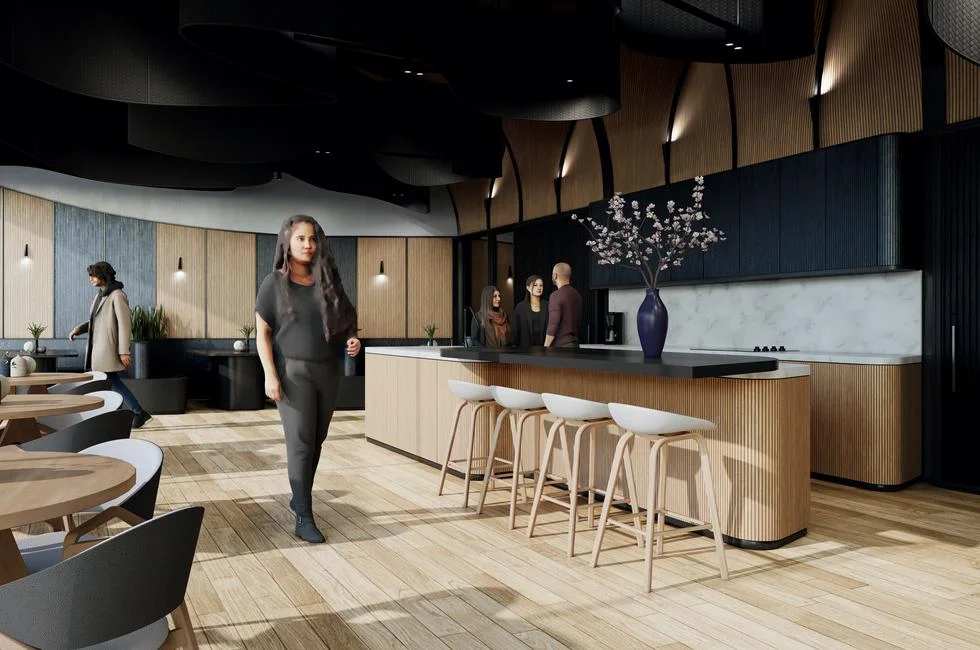
Real-Time Walkthrough
With Enscape’s real-time technology, your project is visualized as a fully rendered 3D walkthrough which can be navigated and explored from every angle, during any time of day. With the live link between Enscape and your CAD program, you can follow every update to your plan instantly. Use NVIDIA Deep Learning Super Sampling support to improve performance in walkthroughs. Add Enscape to your workflow to give yourself more time to create and innovate.
Virtual Reality
Explore your design in the compelling realism of virtual reality. Connect a VR headset like the Oculus Rift S or HTC Vive in a snap and get ready to walk or fly through your project. You won’t believe the extraordinary experience it will evoke.
Export Functions
Enscape offers a variety of options to share or collaborate with anyone; design teams, clients and other stakeholders can easily explore your 3D rendered design. And guess what: they won’t need any special software or superpowered computers.
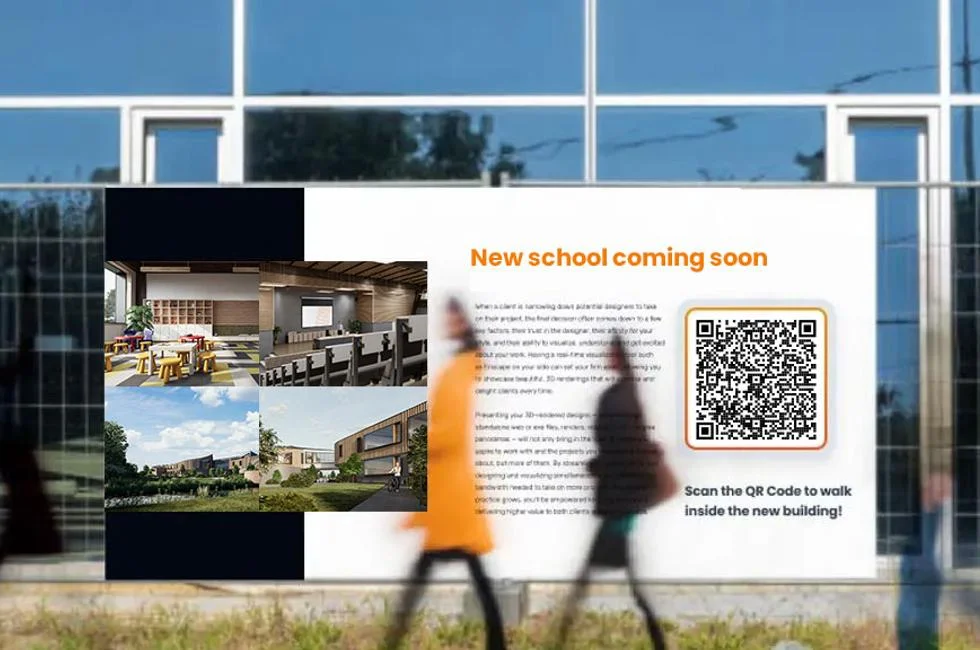
QR Code
Create QR codes for easy scanning and project exploration.
Atmosphere Settings
Image Effects
The cinematic view and atmosphere of your scene can be regulated by the image settings. Make your rendering look like it was shot using a professional DSLR camera. Adjust the bloom or lens flare intensity to bring to light specific details or brighten up the complete image.
Volumetric Fog
Fog gives your scene a sense of depth, by making rays of light more visible; use it to simulate the scattering of dust or a layer of dense fog. The time of day has a direct effect on the color of the fog; at sunset, it will be more intense. Try out some fog to your scene, otherwise, it would be a mist opportunity.
Depth of Field
Focus on whatever you want. With this setting, you chose which part of your model stands out. Call attention to specific details and blur others to create a dynamic image.
Workflow Tools
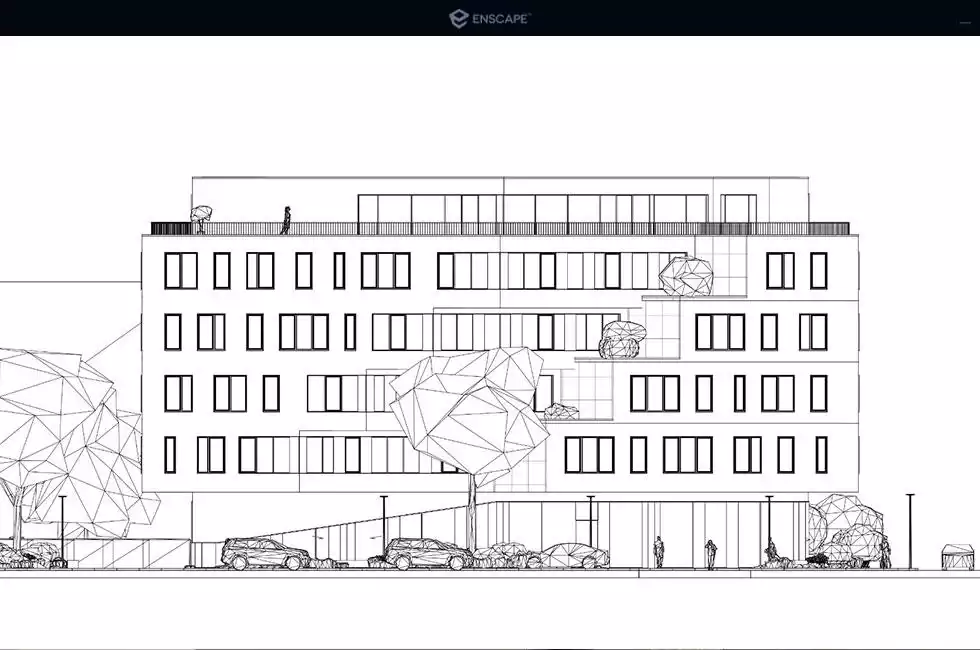
Orthographic Views
No project is complete without a floor plan or cross-section representation; in many situations, it’s the clearest and simplest way to present the scope size, and intent of your design. One click is enough to create a two-dimensional view out of your three-dimensional project. Switch easily between several flat perspectives to create floor plans or side-view section cuts.
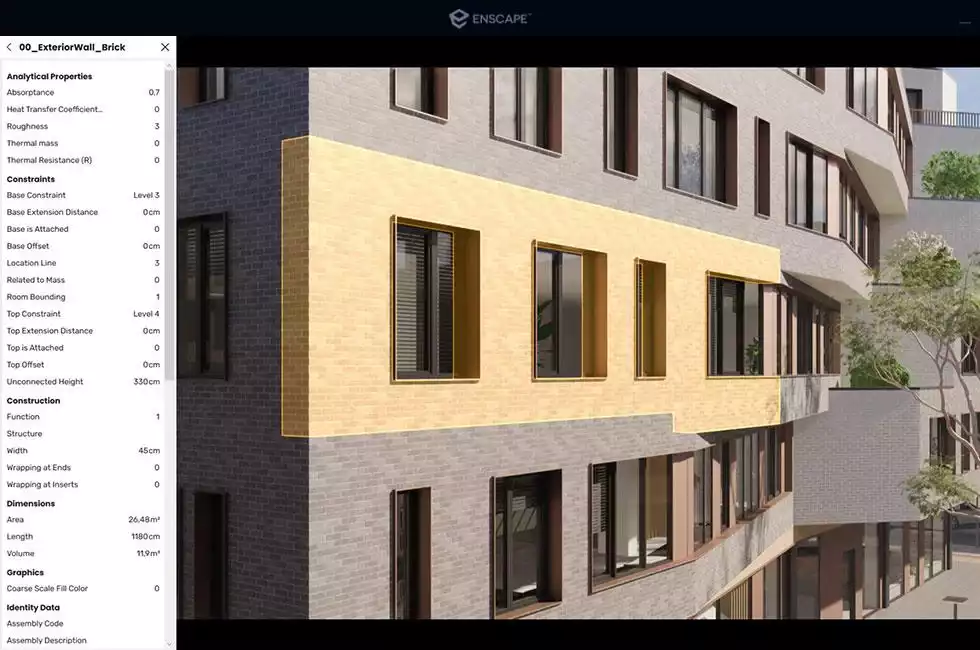
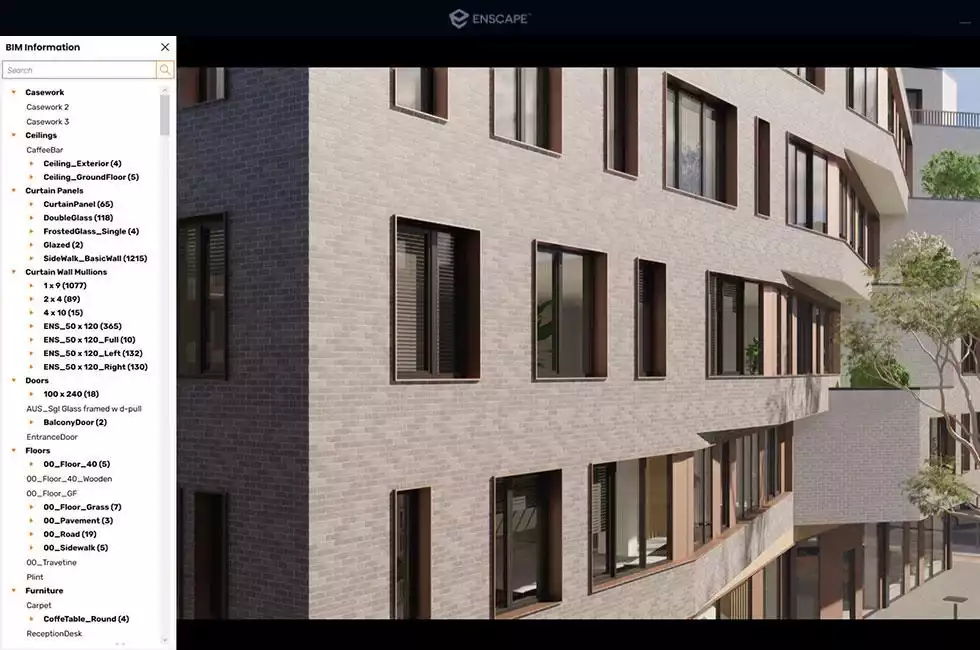
BIM Info
BIM mode places all the information you need right at your fingertips. Just click on any single or grouped elements in the Enscape window to immediately display all available BIM data. Or, search for an element in our BIM mode menu and instantly see one or all instances of the object highlighted in the Enscape window.
3D Assets Collection
-

Assets
Library -

Assets
Placement -

Custom Assets
Library -

Simplified
Assets -

Assets With
Variants -

Color or Material
Customization -

Multi Assets
Editing -

Unique
Assets
Unique Assets
Enjoy a collection of assets that are exclusive to Enscape. Choose from over 90 unique assets to showcase the function and emotion of a space.
Boost your workflow with Enscape!
Get your free trial now for real-time 3D rendering.
FAQ's
ARK Infosolutions is the authorized value-added distributor and reseller for Enscape in India. ARK supports architects, designers, and organizations with Enscape licensing, deployment guidance, training coordination, and post-sales technical support across India.
Enscape is a real-time rendering and visualization software used by architects and designers to create immersive 3D walkthroughs and visual experiences directly from their design models. It enables real-time design review, client presentations, and faster decision-making within architectural workflows.
Enscape is widely used in architecture, interior design, landscape design, and construction visualization workflows. It supports professionals who require real-time rendering, design validation, and interactive presentations without disrupting their existing design process.
Yes. Enscape integrates directly with popular design platforms used in architectural workflows, allowing users to visualize projects in real time without exporting models or changing their primary design tools. This ensures a seamless and efficient visualization workflow.
To enquire about Enscape software in India, you can contact ARK Infosolutions by submitting an enquiry through the website or emailing enscape@arkinfo.in. The team assists with licensing options, trial access, deployment guidance, training, and technical support.
ARK Infosolutions supports Enscape users in India with product demonstrations, installation assistance, workflow integration guidance, training coordination, and ongoing technical support. This helps teams adopt Enscape effectively within real architectural and design environments.
Enscape is designed to run on modern workstation and laptop configurations. For optimal real-time performance, a system with a dedicated GPU and sufficient system memory is recommended, especially for larger or more detailed architectural models.
RELATED BLOGS
Beyond Hardware and Software: The Strategic Role of Tech Distributors in Industry 4.0 Transformation
-min.webp)
The Importance of Collaboration Tools in Architecture Design Software
The Importance of Collaboration Tools in Architecture Design Software
GOT ANY QUERIES?
We are here to answer